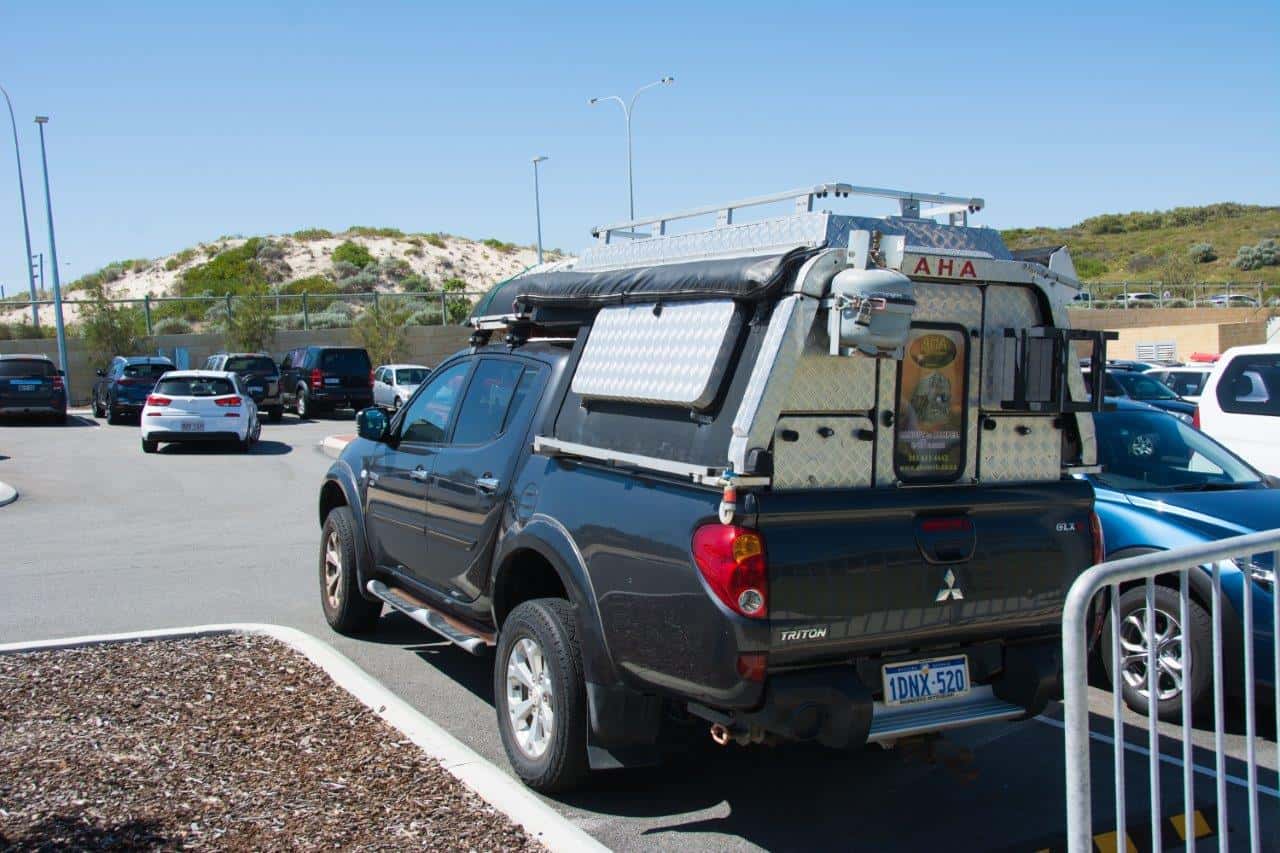
If you own a UTE, one of the best investments you can make is installing a UTE canopy. These canopies provide extra space and protection for your cargo, making them ideal for those who regularly transport items in their UTE. However, it’s essential to install your canopy properly to ensure maximum functionality and durability.
In this article, we’ll cover everything you need to know to install your UTE canopy correctly, including choosing the right canopy, preparing your UTE, and installing the canopy.
Choosing the Right Canopy
Before you begin, it’s crucial to choose the right canopy for your UTE. There are many different types of canopies available, and you’ll want to select one that suits your needs and budget.
First, consider the size of your UTE. You’ll want to choose a canopy that fits your UTE properly to ensure a secure installation. Look for canopies that are specifically designed for your UTE’s make and model, or choose a universal canopy that fits multiple models.
Next, consider the type of material you want your canopy to be made from. Canopies are typically made from materials like fiberglass, aluminum, and steel, each with its own advantages and disadvantages. Fiberglass canopies are lightweight and easy to install, while aluminum and steel canopies are more durable but heavier.
Finally, consider any additional features you want your canopy to have, such as windows, ventilation, or locking mechanisms. These features can add extra functionality and security to your canopy.
Preparing Your UTE
Once you’ve chosen the right canopy, it’s time to prepare your UTE for installation. Start by cleaning the UTE thoroughly, removing any dirt or debris that may interfere with the installation process. You’ll also want to inspect your UTE’s bed to ensure there are no existing damages or defects that could affect the canopy’s installation or performance.
Next, gather any tools or equipment you’ll need to install the canopy. This will vary depending on the type of canopy you’ve chosen, but you may need items like a drill, screws, and brackets.
Installing the Canopy
Now that you’ve prepared your UTE, it’s time to install the canopy. The exact installation process will vary depending on the type of canopy you’ve chosen, but the following steps will give you a general idea of what to expect.
Step 1: Position the Canopy
Start by positioning the canopy onto your UTE’s bed. Make sure the canopy is aligned properly, ensuring that it’s centered and level. You may need to adjust the position of the canopy several times to get it just right.
Step 2: Secure the Canopy
Once you’ve positioned the canopy, it’s time to secure it to your UTE. This will typically involve drilling holes into your UTE’s bed and attaching the canopy using screws and brackets. Follow the manufacturer’s instructions carefully, making sure to use the right size screws and brackets for your UTE and canopy.
Step 3: Seal the Edges
After securing the canopy, you’ll want to seal the edges to prevent water or debris from entering the bed of your UTE. Use a waterproof sealant or silicone to seal any gaps between the canopy and your UTE’s bed, making sure to apply the sealant evenly.
Step 4: Test the Canopy
Finally, test your canopy to ensure it’s installed properly and functioning as expected. Check that the canopy is securely attached to your UTE, and that it opens and closes smoothly. If you notice any issues, make adjustments as needed.
Conclusion
Installing a UTE canopy is an excellent way to add extra space and protection to your UTE, but it’s essential to install your canopy correctly to ensure maximum functionality and durability. By choosing the right canopy, preparing your UTE properly, and following the installation steps carefully, you can enjoy all the benefits of a UTE canopy without any headaches or issues.
Remember to take your time during the installation process, and don’t hesitate to ask for help if you need it. If you’re not confident in your DIY skills, it’s always a good idea to hire a professional to install your UTE canopy for you.


