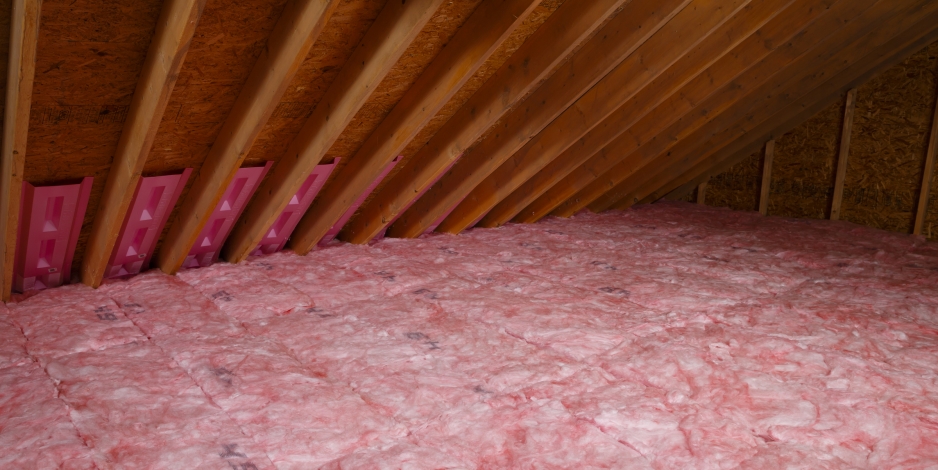
As homeowners, we are always looking for ways to improve the energy efficiency of our homes. One of the best ways to achieve this is by installing insulation in the attic. Insulation helps to keep your home cool in the summer and warm in the winter, reducing your energy bills and making your home more comfortable.
Fiberglass insulation is a popular choice for attic insulation due to its cost-effectiveness and easy installation process. In this article, we will guide you through the steps to install fiberglass insulation in your attic.
Materials You Will Need
Before you begin the installation process, it’s essential to gather all the necessary materials. Here’s a list of items you will need:
- Fiberglass insulation
- Utility knife
- Measuring tape
- Work gloves
- Safety goggles
- Dust mask
- Drop cloth
- Rafter vents (if necessary)
- Staple gun
- Caulking gun
- Expanding foam insulation (optional)
Preparing Your Attic
The first step in the installation process is to prepare your attic. Before you begin, make sure to wear work gloves, safety goggles, and a dust mask to protect yourself from fiberglass particles.
Start by clearing any debris or clutter from your attic. Next, inspect your attic for any signs of moisture or leaks. If you notice any moisture, it’s crucial to address the issue before installing insulation to prevent mold growth.
If your attic doesn’t have proper ventilation, it’s essential to install rafter vents before installing insulation. Rafter vents help to improve airflow in your attic and prevent moisture buildup.
Measuring and Cutting the Insulation
Once you’ve prepared your attic, it’s time to measure and cut the insulation. Measure the length and width of each section of your attic’s floor and mark the measurements on the insulation.
Using a utility knife, cut the insulation to fit the length and width of each section of your attic’s floor. Be sure to cut the insulation slightly larger than the space to ensure a snug fit.
Installing the Insulation
Now that you’ve measured and cut the insulation, it’s time to install it. Start by laying the insulation between the floor joists, making sure it fits snugly.
If your attic has recessed lighting fixtures or other obstacles, you’ll need to cut the insulation to fit around them. Be sure to leave a one-inch gap between the insulation and any heat-producing fixtures to prevent a fire hazard.
Use a staple gun to secure the insulation to the floor joists. Be sure to staple the insulation at least every twelve inches to prevent it from shifting.
Sealing Air Leaks
After installing the insulation, it’s essential to seal any air leaks in your attic. Air leaks can reduce the effectiveness of your insulation and increase your energy bills.
Use a caulking gun to seal any gaps or cracks around your attic’s perimeter, including around vents, pipes, and ductwork. You can also use expanding foam insulation to seal larger gaps or holes.
Finishing Touches
Once you’ve installed the insulation and sealed any air leaks, it’s time to finish up. Clean up any debris or insulation particles in your attic, and dispose of them properly.
It’s also a good idea to check your insulation periodically to ensure it’s still in good condition. Over time, insulation can compress, reducing its effectiveness.
Conclusion
Installing fiberglass insulation in your attic is a cost-effective way to improve your home’s energy efficiency and make it more comfortable. By following the steps outlined in this article, you can install insulation in your attic quickly and easily.
Remember to always wear protective gear when working with fiberglass insulation and address any moisture or ventilation issues before installing insulation.


